
2.8 KiB
Guide: Running the OpenFlexure Microscope Simulation Server
This guide walks you through running the simulation server for the OpenFlexure Microscope, along with useful tips for using the simulation features.
Starting the Simulation Server
-
Activate your virtual environment (the same one created during installation, as described in the README).
-
Run the simulation server using the following command:
openflexure-microscope-server --fallback -c ./ofm_config_simulation.jsonNote: If you are using Windows, we advise running this command in PowerShell. If it doesn't work this, might be a permission issue on managed machines, in which case try executing the command in a CMD terminal.
This can fail with an error that the chosen port is already in use. In that case, append --port 8081
Video Walkthrough
For a step-by-step demonstration, watch the full video walkthrough on running the simulation server.
Simulation Settings and Tips
Autocalibration
- Your simulated microscope should prompt you to complete the auto-calibration wizard upon your first use of the simulated server.
- If the stage moves in the wrong direction in the View or Navigate tabs, you can re-run Auto-calibration from the UI to correct it.
- To auto-calibrate your microscope, go to: Settings → Camera to Stage Mapping → Auto-Calibrate Using Camera.
Sample Coverage
- The default sample coverage of 25% is often too high for simulations. A figure closer to 10% performs better.
- You can adjust this in the Background Detect tab under: Configure → Sample Coverage
Background and Samples
- You can load a sample to simulate imaging conditions, using the Load Sample options in the Settings tab.
- To remove a sample and reset the view, use the Remove Sample option in the Settings tab.
- You can load and remove simulated samples under: Settings → Camera → Load/Remove Sample
Scans
- If you perform a scan with 0 images (i.e. cancelling the scan before any images are collected), it will disappear from the scan list as soon as a new scan starts.
- Scans are automatically given Scan IDs in numerical order if the user does not provide one.
Screen Size
-
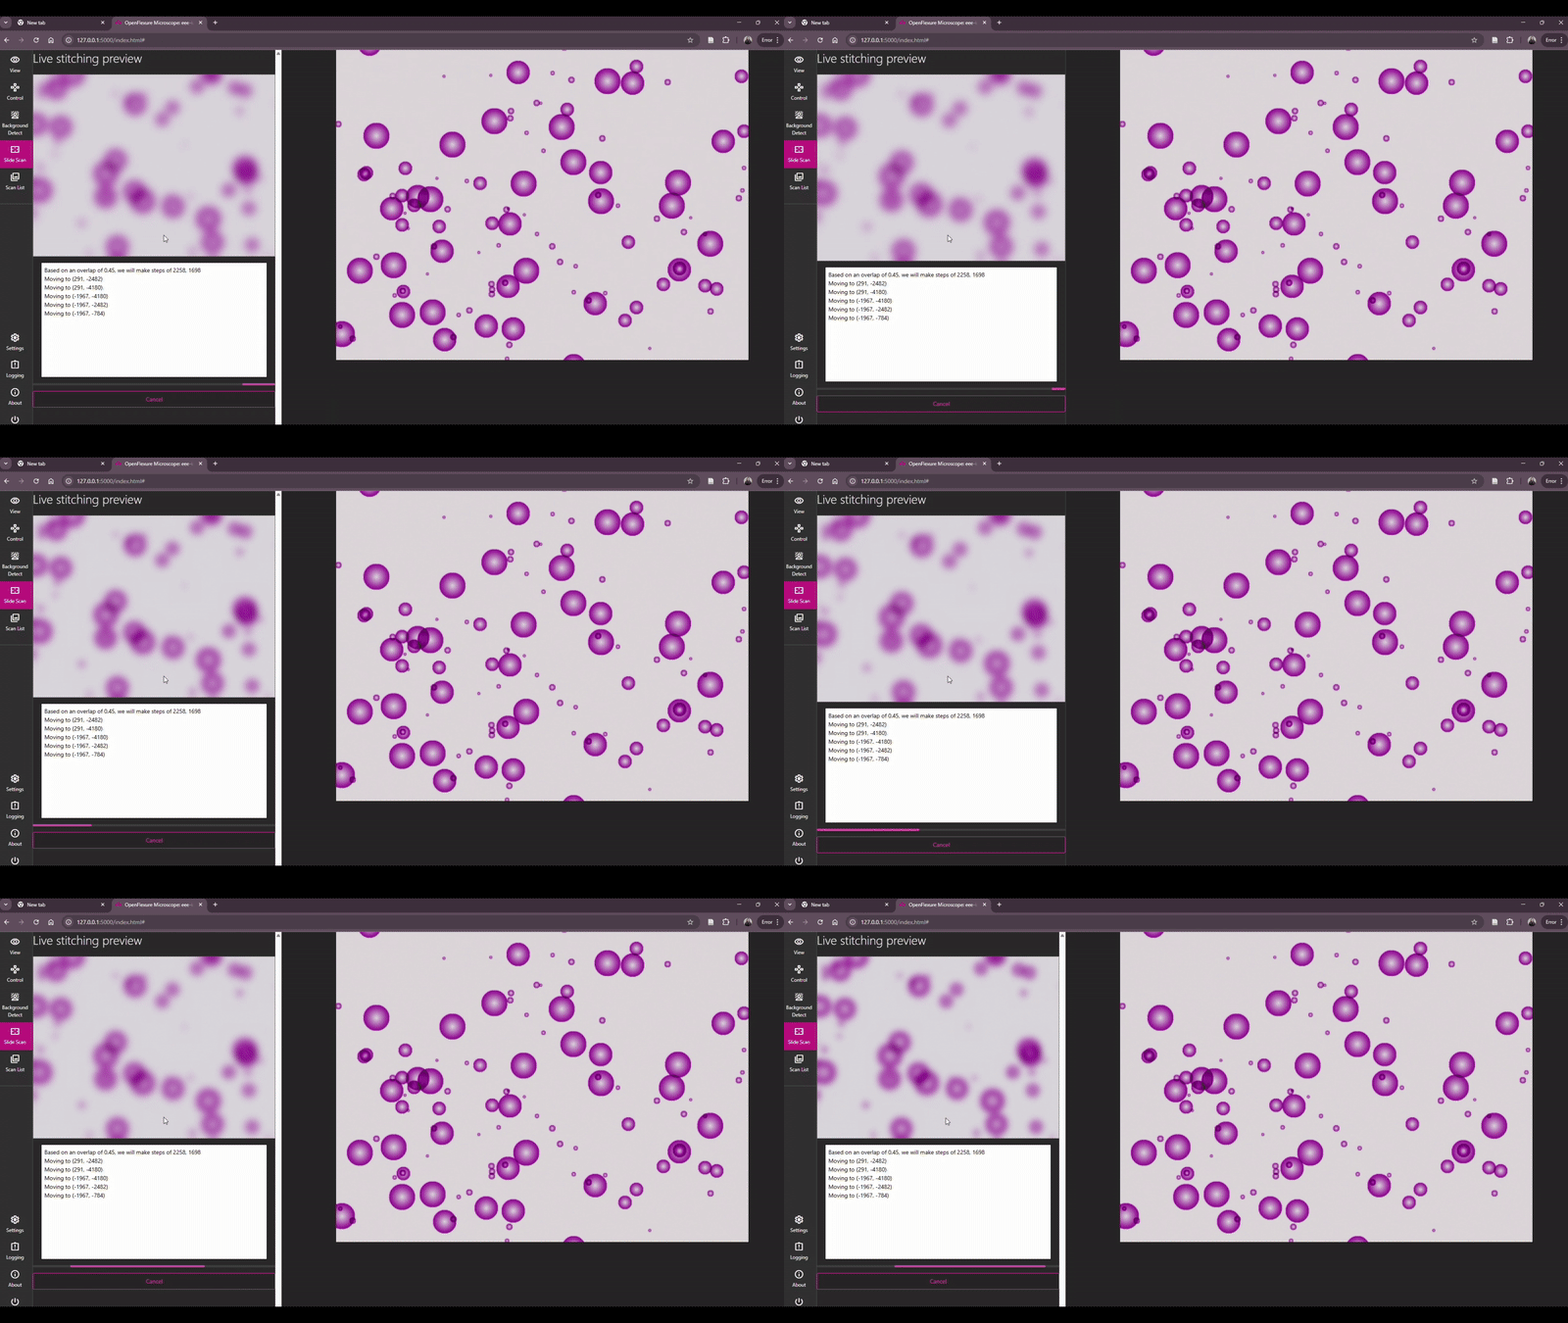
During a Smart Scan (performed in the Slide Scan tab), some screen sizes can cause unwanted jitter as shown in the animation below.
-
If this happens, change the size of your window until the UI stabilises.
If you need further help, reach out to the community on the OpenFlexure Forum.