| .. | ||
| assets | ||
| _sidebar.md | ||
| architecture.md | ||
| config-file.md | ||
| contributing.md | ||
| index.html | ||
| ofm.css | ||
| picamera-tuning-files.md | ||
| python.md | ||
| README.md | ||
| simulation_guide.md | ||
| webapp.md | ||

Developer Guidance
This site provides information that is useful for developing the OpenFlexure Microscope.
Viewing and Modifying These Docs Locally
If you want to view these documents in your machine (very useful when editing them). You will need to serve the apidocs directory. Navigate to the apidocs directory and run python -m http.server.
All developer guidance documentation is written in markdown and then displayed with Docsify. More information on Docsify can be found at https://docsify.js.org.
Installation and set up
To set up a development environment you will need Python 3.11 and the static files for the web application.
Installation and set up on a Raspberry Pi
The OpenFlexure Raspberry Pi OS image comes with Python 3.11 already installed. We do not recommend trying to develop on the standard Raspberry Pi OS image.
- To activate the microscope virtual environment run
ofm activate - Navigate to the Openflexure repository with
cd /var/openflexure/application/openflexure-microscope-server
The Pi should already come with the static files for the web application.
Installation and set up on other platforms
You should install Python 3.11. If you have a different version of python we recommend using UV to set up a Python 3.11 virtual environment.
You can check your Python version by running py --version or python --version in any terminal. Your Python version should be >= 3.11.0.
- Clone the source code:
git clone https://gitlab.com/openflexure/openflexure-microscope-server.git - Enter the directory
cd openflexure-microscope-server - Create the virtual environment, for example with
python -m venv .venv(or withuv venv --python 3.11if using uv) - Activate your virtual environment with
source .venv/bin/activate(on Linux) or.venv\Scripts\activate.bat(on Windows CMD) or.venv\Scripts\activate(on Windows Powershell)
Note: If you activate the venv in a CMD terminal in VSCode on Windows, the venv will not visually show as activated until you open a new powershell window.
- Install the application
pip install -e .[dev](oruv pip install -e .[dev]if you are using UV) - Run
python pull_webapp.pyto get the latest static files for the web application.
Full video walkthroughs of the software installation process are available below:
If you are using Windows and you cannot activate your virtual environment from powershell, you probably need to change the execution policy. The official Microsoft docs have the right command in example #1: https://learn.microsoft.com/en-us/powershell/module/microsoft.powershell.security/set-executionpolicy?view=powershell-7.5#example-1-set-an-execution-policy.
Running the server
There are two types of server available to run:
-
A live OpenFlexure Microscope Server, that runs on a Raspberry Pi within your OpenFlexure Microscope. This server processes real images from the microscope's camera.
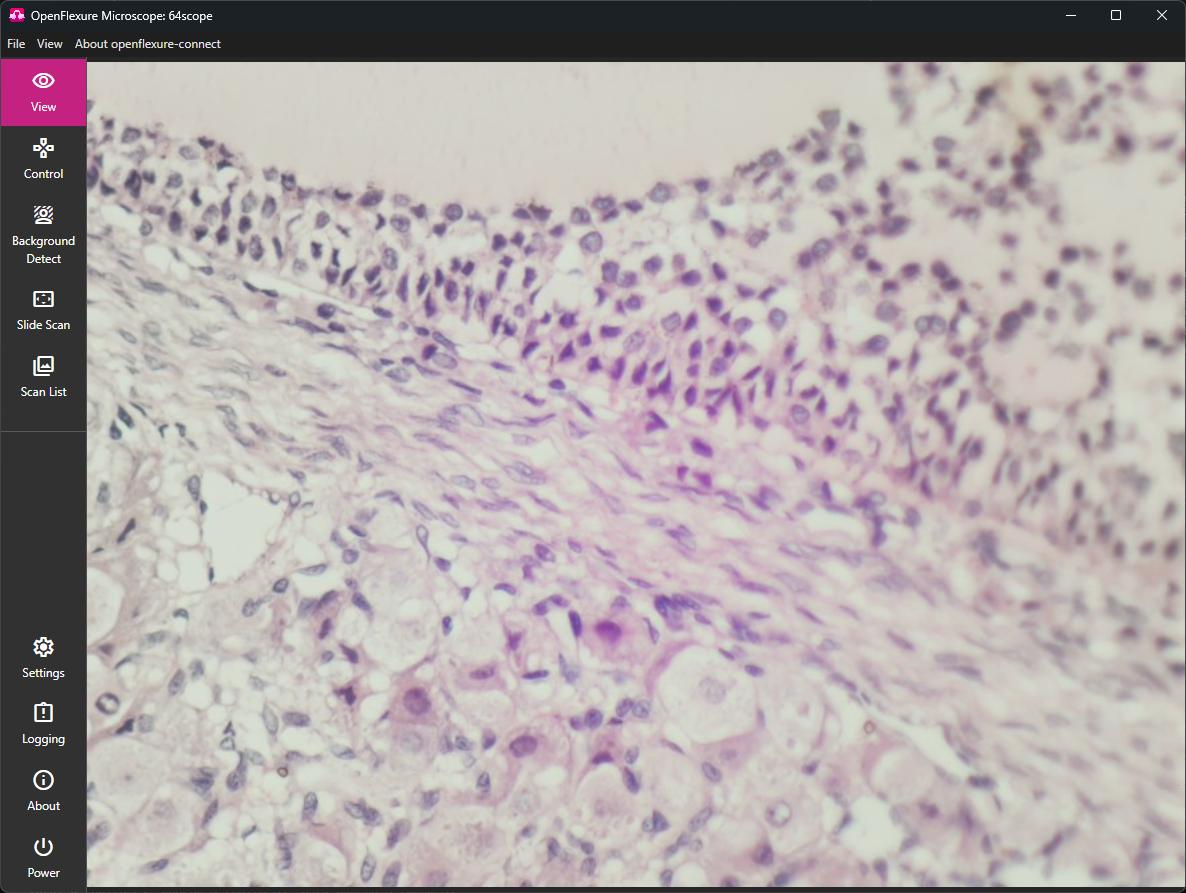
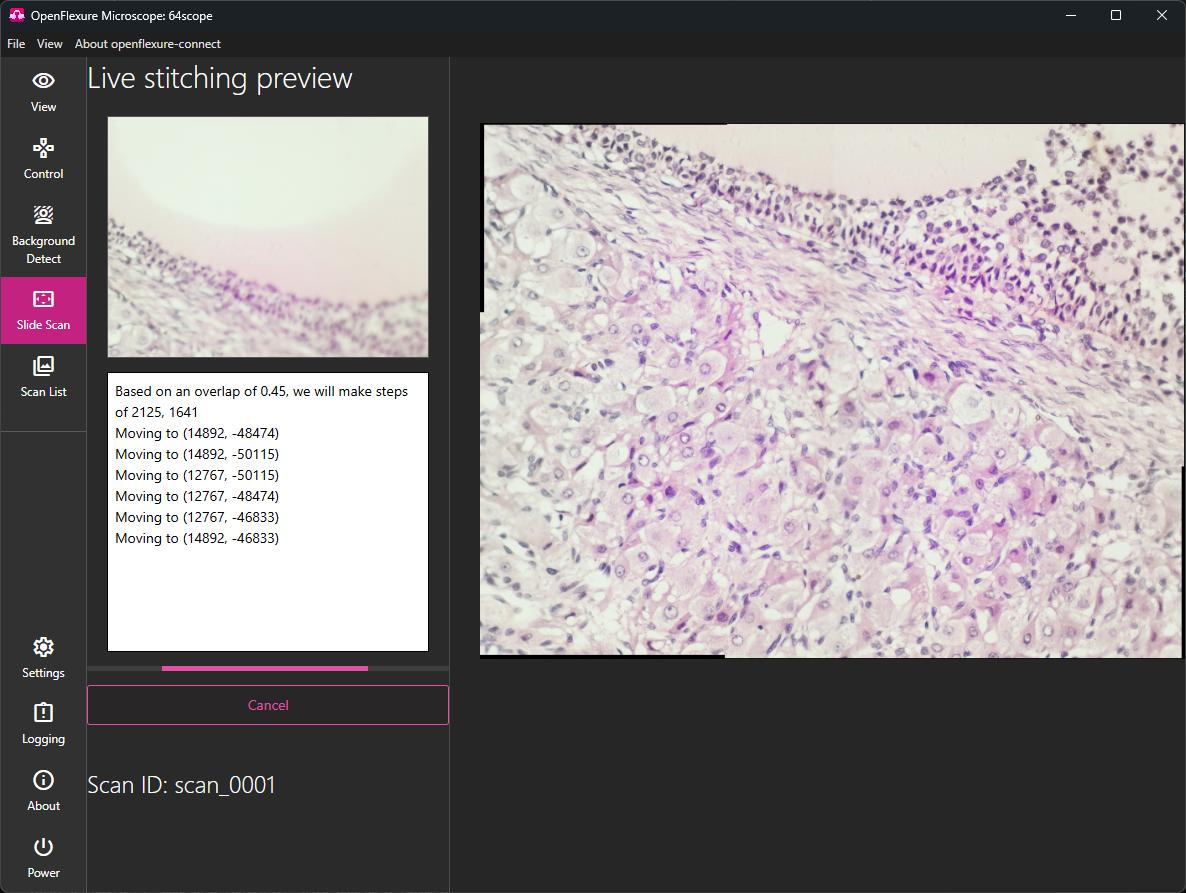
-
A Simulation Server, which replicates the software functionality of the live server, but instead runs on your computer. Instead of receiving a live feed from a camera, the server 'scans' simulated data from a simulated camera.
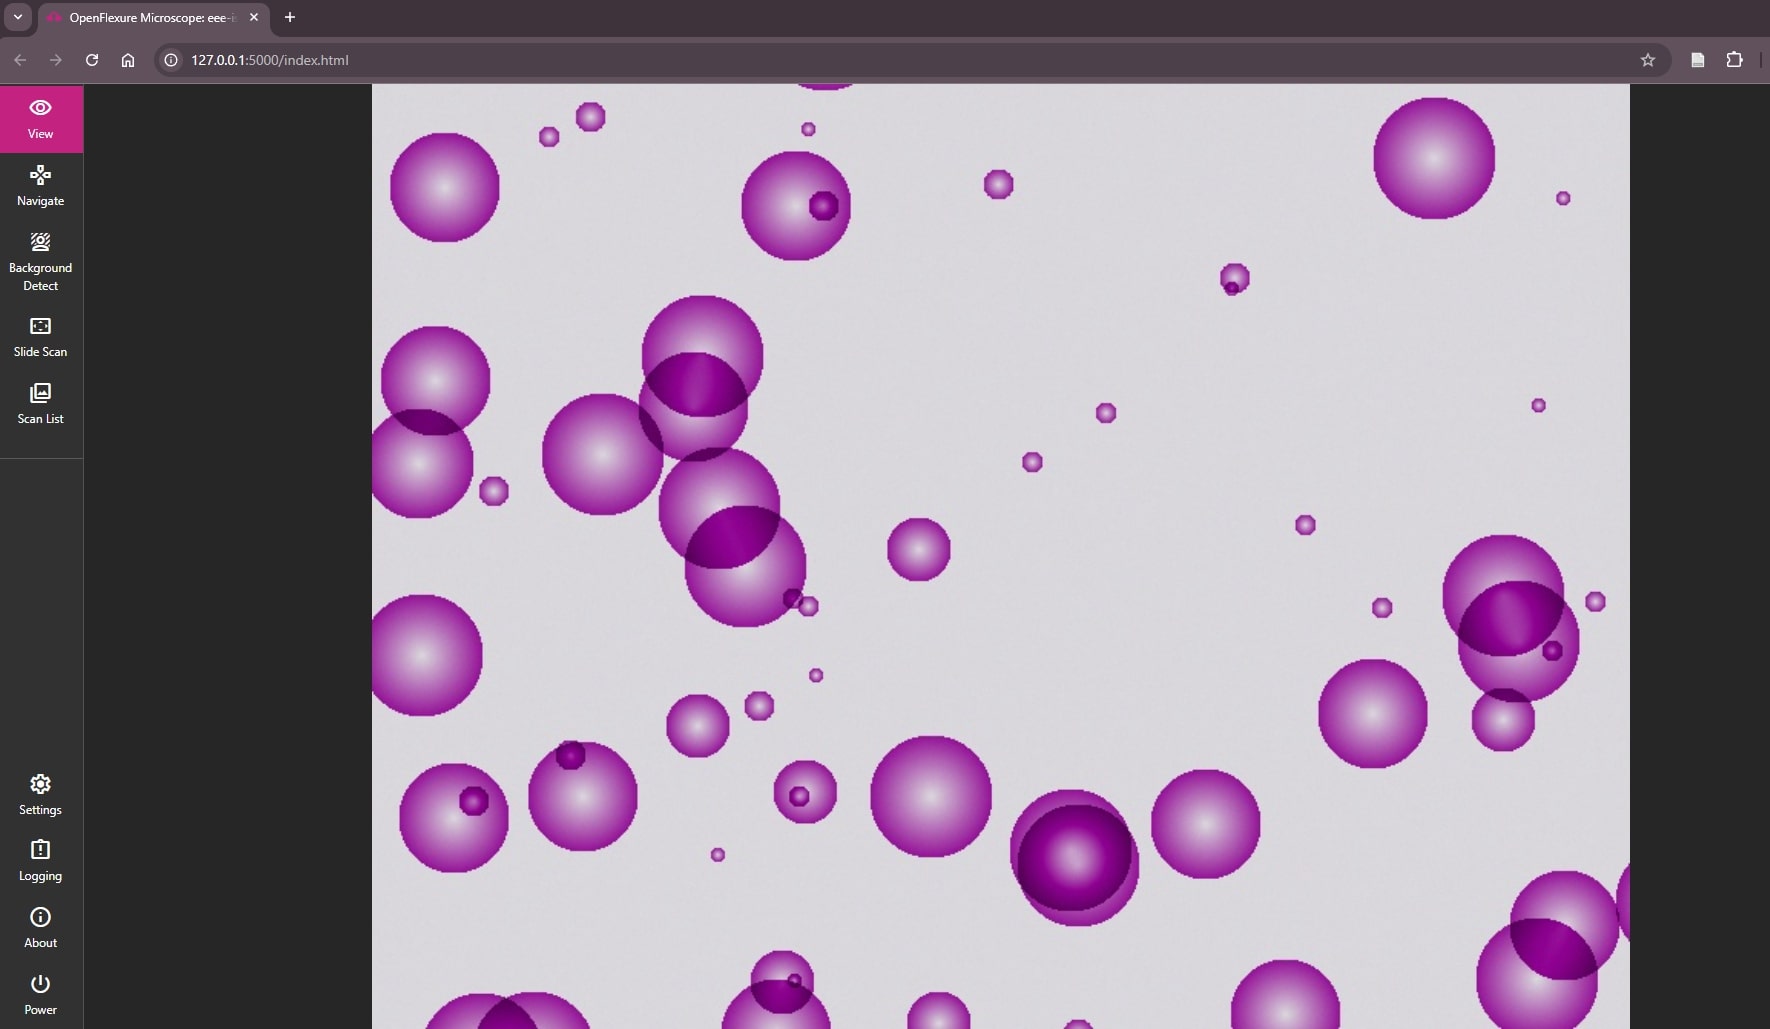
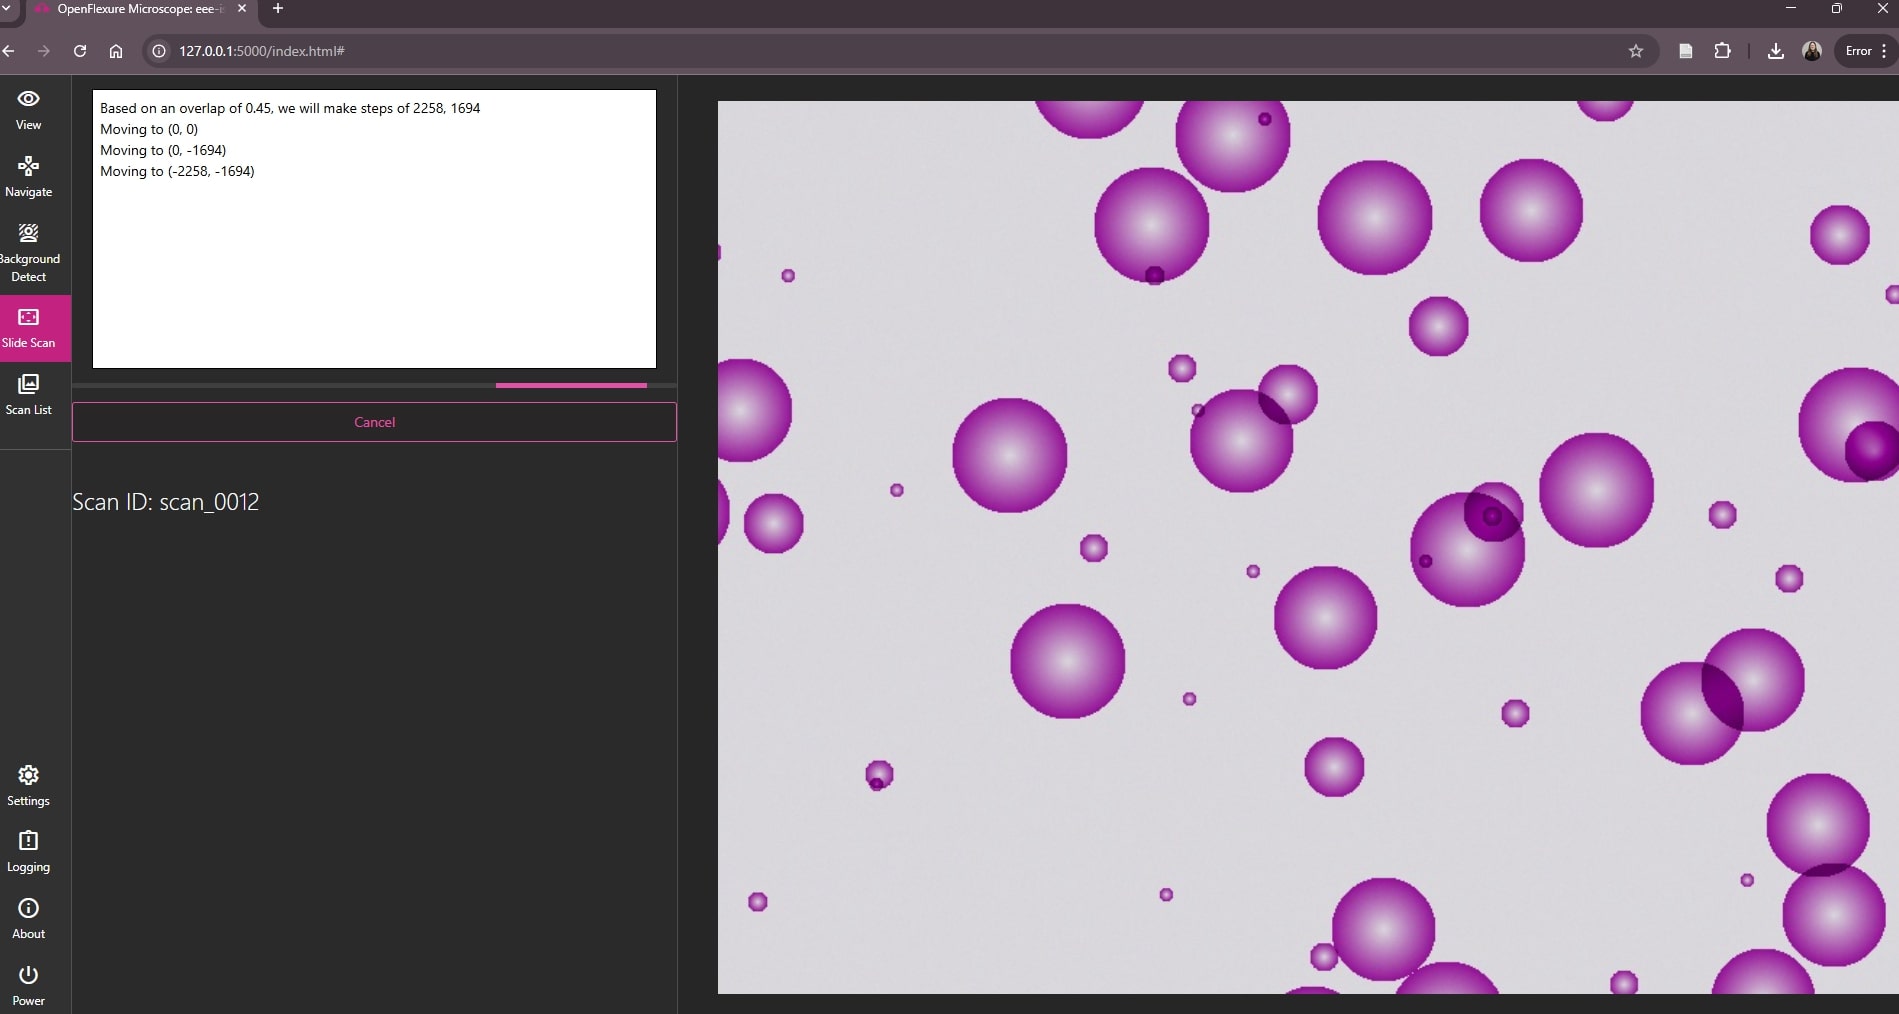
Running the server on a Raspberry Pi
You can manage the server with the ofm command, using ofm start, ofm stop, and ofm restart to do the respective actions. Often, stopping the server and running it manually will make errors easier to spot. To do this, run:
ofm stop
ofm activate
cd /var/openflexure
sudo -u openflexure-ws openflexure-microscope-server --fallback -c microscope_configuration.json --host 0.0.0.0 --port 5000
Running the simulation server on other platforms
To start the simulation server:
- Ensure all steps of the installation for your platform of choice are complete.
- Activate the virtual environment that was set up during installation
- Run the following command:
openflexure-microscope-server --fallback -c ./ofm_config_simulation.json
- Open the address displayed in the terminal in any browser.
- To close the simulation server, return to the terminal and press
ctrl + c.
Note: If you are using Windows, we advise running this command in PowerShell. If it doesn't work this, might be a permission issue on managed machines, in which case try executing the command in a CMD terminal.
Note: If you receive an error saying that port 5000 is already in use, you can specify a different port to run the simulation on using
--port:
openflexure-microscope-server --fallback --port 8081 -c ./ofm_config_simulation.json
A full video walkthrough of running the simulation server is available on our YouTube Channel.
You can find more information on using the simulation server in the Simulation Guide.
General development overview
Please first read our project contributions guide
- We recommend all development is done on a branch.
- If you are editing the web app, please see our see the README in the webapp directory.
- If you want to try a branch with webapp changes (that are already pushed to GitLab), but don't want to compile the javascript, then run
python pull_webapp.py -b <branch_name>to get the artifacts from the GitLab CI.
For development on a Raspberry Pi we recommend VSCode Remote session from another computer. This allows you to use your usual developer environment to write code, but everything runs on the Raspberry Pi with real hardware. Note that the repository is cloned by default over https, so you will probably need to change the "remote" URL to your fork of the repository, or to SSH, before you're able to push changes.
Adding functionality
The microscope comprises a number of Thing instances, which provide actions and properties to implement hardware control and software features. These may be imported from any Python module, using ofm_config.json. See the LabThings-FastAPI documentation for how to create a Thing.
Currently, the camera and stage classes are provided by external libraries, labthings-picamera2 and labthings-sangaboard. Replacing these is the easiest way to use alternative hardware: interfaces are defined in openflexure_microscope_server.things.camera and openflexure_microscope_server.things.stage respectively.